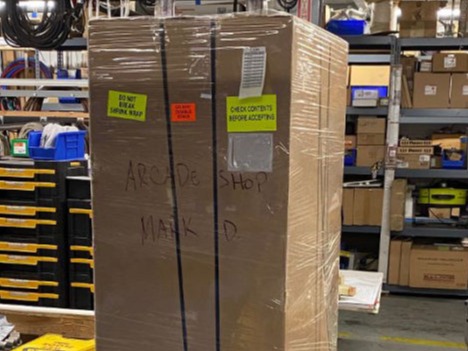
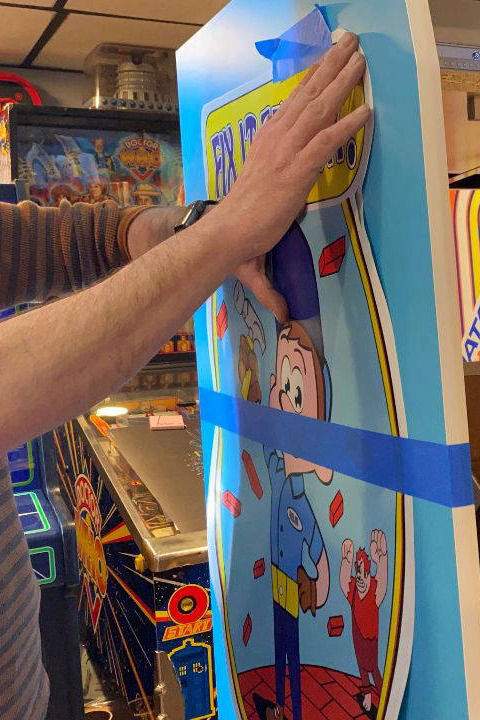
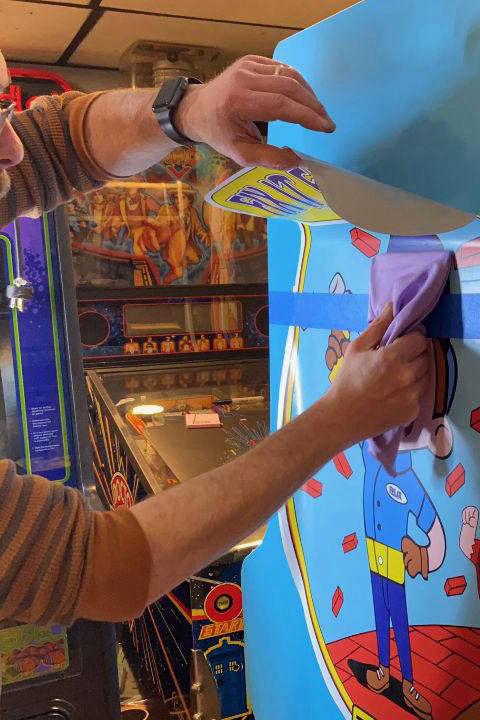
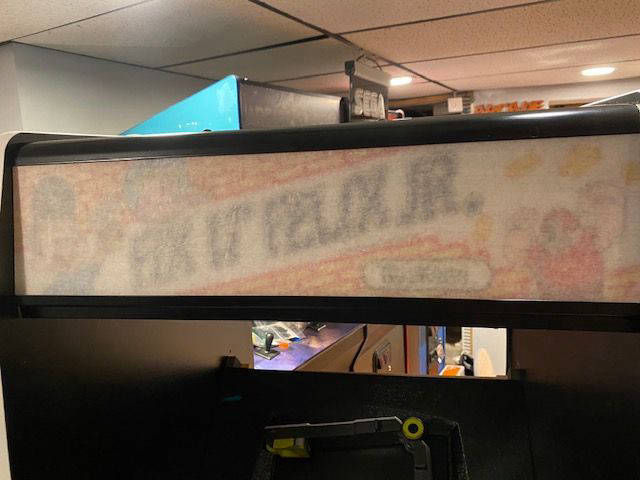
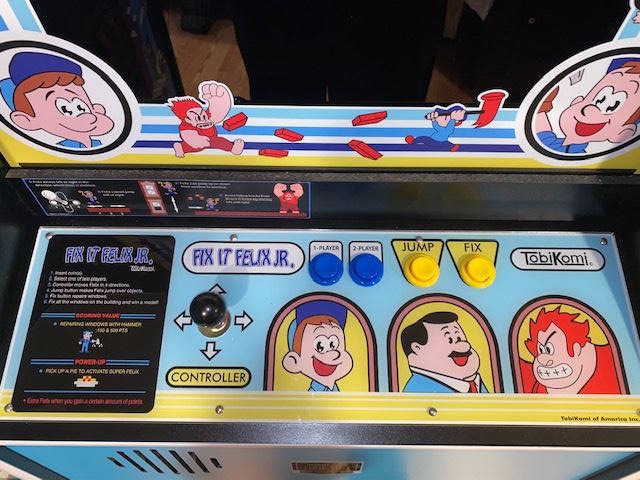
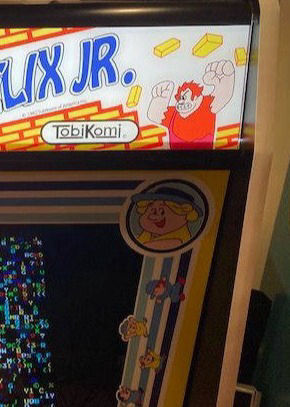
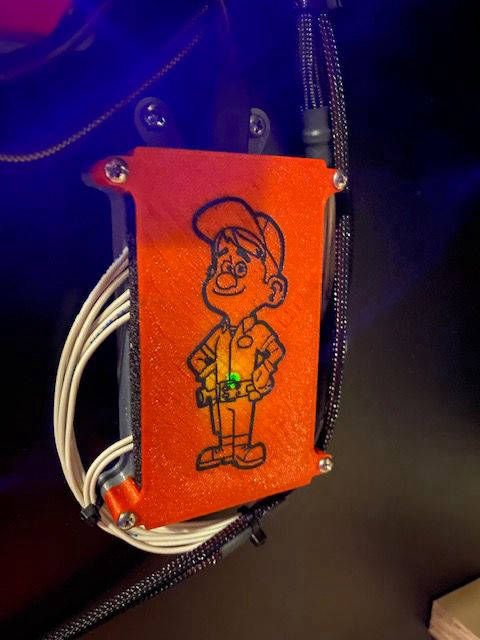
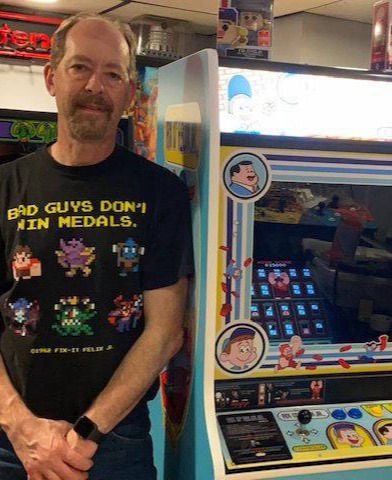
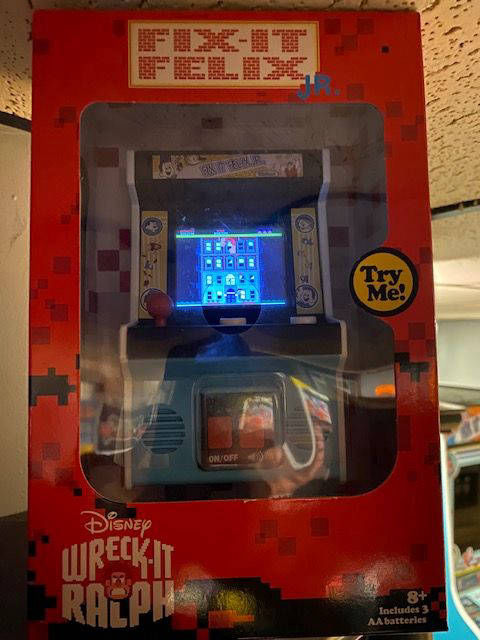
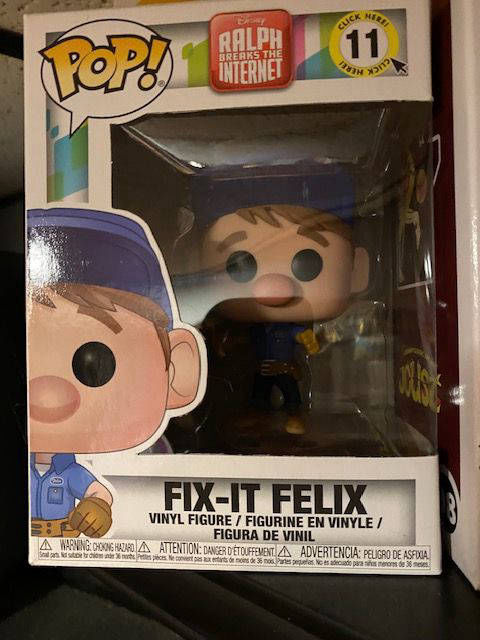
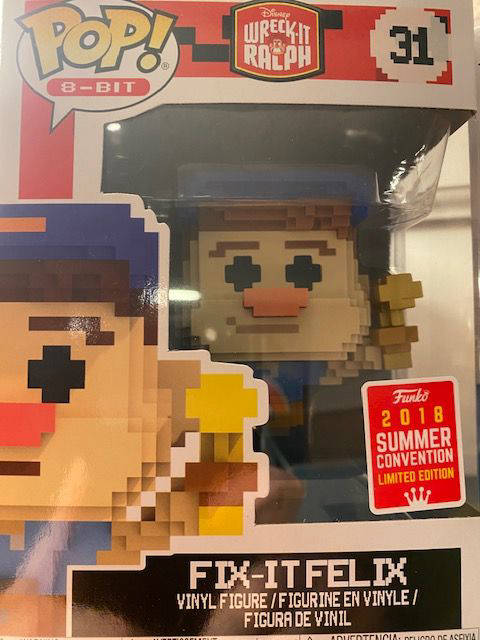
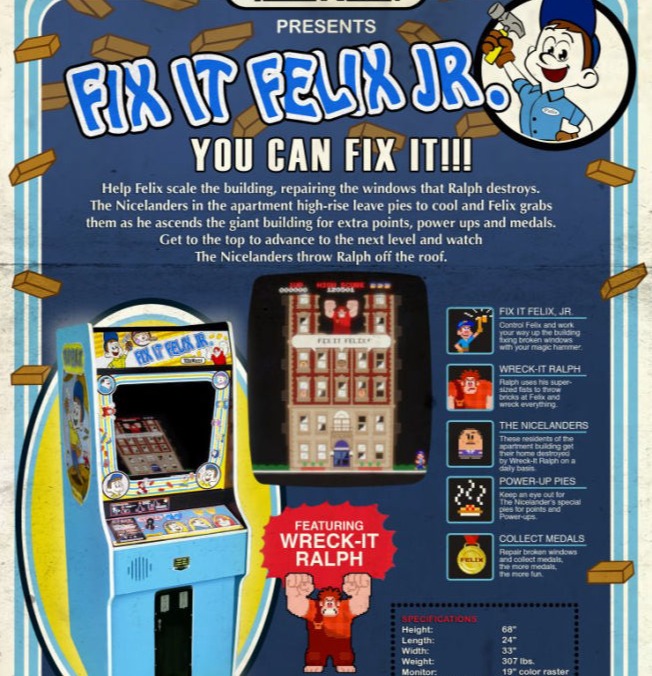
Fix it Felix Jr.

The Tribute
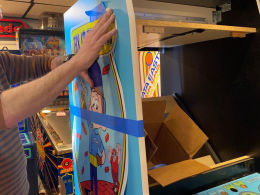
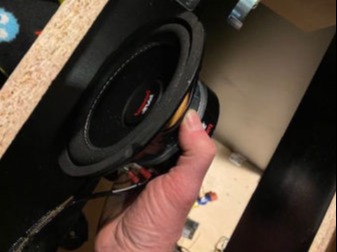
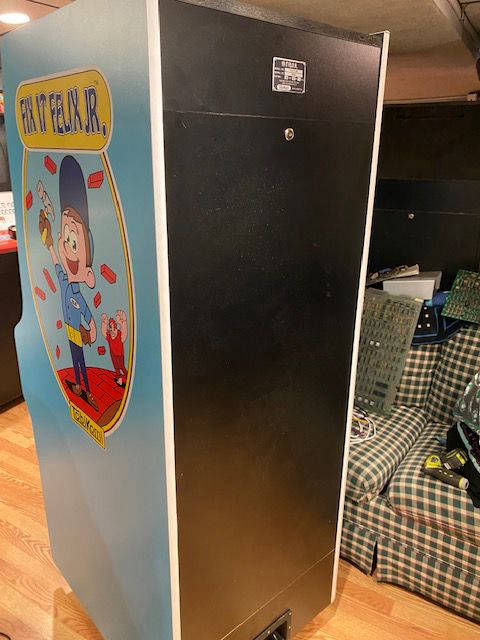
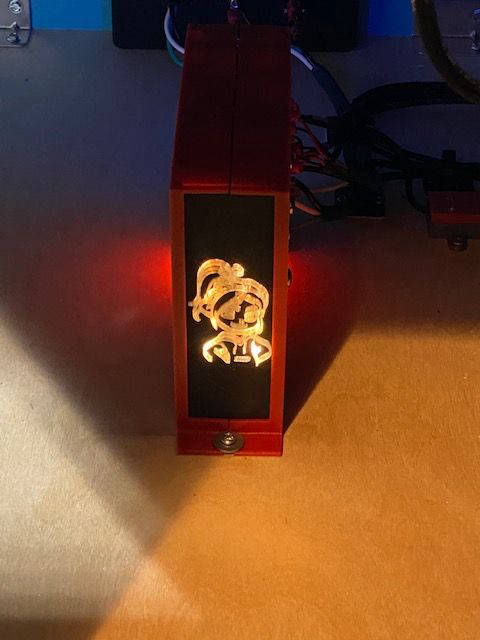
The stunning creation of game that never really existed. This is the story of my recreation

The Facts
Leave it to Disney to totally get right, All the play mechanics that made games great in the 80s are here in the 2000s. In this conceptual game. Wreck-it-Ralph as a movie captures ,The essence of the 80s arcade machine, without ever actually going into production as one. 

Play the character named Felix Junior and help him repair a multi story building as it is being smashed by Ralph

So what's your story?
I know I’m a bit late to this party, but ever since seeing Wreck-It Ralph in the theater, I’ve wanted to own a machine. After years of planning, I finally set off to put mine together.

Cabinetry has never been my strong point, and rather than sacrifice a legit Nintendo cabinet for this project, I chose to purchase a new cabinet instead. It arrived from Arcade shop well packed, and undamaged by its journey to the Basement Arcade, ready for some casters, artwork and components

There’s a couple different art packages out there, especially if you look on eBay, but Joe Szabo makes excellent reproduction art, and offers Fi- it Felix Junior as an art package, including all required side art, marquee, and bezel pieces, So Joe got my order and the art was applied. 

The reproduction Nintendo cabinet has a cut out in the rear for the Nintendo power supply. Since I was going to be using a standard arcade switching power supply, I wanted to turn this hole into a recessed power inlet box.
Adding a switch, an external fuse holder, and power cord strain relief, I drew and 3-D printed the box you see here. The design is in the 3-D printing area for future builds

Over the course of the years, I was able to track down a reproduction Nintendo Coin door on eBay.  
Nintendo cabinets use an Asahi Seiko coin mech, and although those are available in reproduction form, I’ve always wanted to try the electronic equivalent. These coin mechs decide which coin they are going to except based on a sample placed within the unit. Again, this isn’t true to a Nintendo cabinet, But I think I can get away with it here.

Time to wire up the control panel. One point of interest here, with everything I’ve purchased, the art package and the arcade cabinet, I neglected to buy any hardware to bolt anything together. Obviously, I would need a joystick and buttons , but I neglected the fact that I would need the very tiny carriage bolts to bolt the control panel down and bolts to mount the joystick. You may also need the small metric carriage bolts used to mount the coin mechs to your coin door and well as bolts to mount the coin door to the cabinet Mike’s arcade has all of these, you just have to remember to source them before you start your project. Also if you went with the new cabinet path, other things you will be missing will be the upper and lower marquee mount, Which is also available at mikesarcade.com. Keeping it neat, I wrapped all the wire in abrasion-resistant wrap-around sleeving

Up until this point, there has never been an LCD in any arcade machine in the basement, but again, since this is not a true arcade video game, I chose the easier route of using an LCD in this build.
I was lucky enough to by an LCD, JAMMA harness, power supply, and Pandora’s box, off of eBay as a package at an extremely good deal. The seller claimed to have been putting together his own arcade machine, but lost interest halfway through the build, so all items were relatively unused. I re-purposed the LCD for this project, kept the power supply and buttons and sold off the rest. A 19" LCD monitor bezel was sourced on eBay

For the speaker I chose a Pile 6 inch subwoofer with dual coils. This makes total sense in this application, because the music in fix it Felix is rather tinny, and I wanted a stronger bass presence. Additionally, the dual coil makes perfect sense, as all computers generate stereo, Yet we have to channel this into a single speaker… Problem solved with a duel coil speaker


Often, the marquee is slightly smaller than the cabinet itself, allowing light to bleed through when backlit. A small strip of self adhesive foam insulation (normally used for drafts from doors and windows) from Home Depot, blocks out light bleed through very nicely. (more pictures below)

For the hardware, I wanted to do something different. Every Fix-it Felix machine that I’ve seen on the web, has had an old PC sitting in the bottom of it. I really wanted to do something a little more interesting, as well as unique. My decision, was to build mins, using a $35 raspberry pie

Raspberry Pi running Windows Version of Fix-it Felix Jr.....
 
At first, things went pretty well. Using a now outdated piece of software called ExaGear, I had the pi programmed to boot automatically to the emulator that launched Fix-it Felix. I thought I had it all worked out and this was all  documented on my webpage here. The only problem is I never really tested it for an extensive period of time.
It wasn’t until I was completing this build that I realized there was a problem with the software, that would cause the audio to become out of sync, and garbled after approximately 2 1/2 hours of continuous runtime. This was going to be unacceptable in an arcade environment. All attempts to correct this failed (and I tried for weeks to resolve this). The closest I got to a solution was by using a raspberry pie 2, which incidentally ran for about 5 to 6 hours before it crapped out, but either way the end result was still unacceptable.

Setting the Raspberry Pi aside, My second attempt at running this project on a Single board computer, was to use a lattepanda which is another single board computer that I’ve used in the past. Using a revision one lattepanda, I did get it up and running although eventually gave up on this because of the lattepandas native dual screen output causing problems with the fix it Felix game engine
In this build, I had one of two problems that I could never resolve both at the same time. Either The game ran, would but wouldn’t be full screen, or the game would run in full screen, but had a title bar generated by the game in the display. All attempts to correct this failed so on to the next....

Attempt three was to use a different lattepanda board called the Lattepanda Delta. This board is much more expensive, but still falls in the single board computer category.  This board had no problems running Fix-it Felix Junior full screen, and without the pulldown menu border the game uses in window mode, but did have some screen tearing I had to address.
But I still had the urge to get this working on a raspberry pi, so ultimately I said this one aside to go back to the ARMv7 Quad Core processor. I did make a mounting plate and replaced the fan Guard in the Titan cage in case I ever choose to go back to this single board computer.  Someday you will find these in the 3D printer area, but for now just email me if you want them

It wasn’t until attempt four that we accomplished everything we set out to do. Using a raspberry pi 4 with two gigs of memory, and twister OS as the operating system, the Windows version of Wreck-It Ralph,  functions perfectly on an ARM7 processor. Twister OS has Wine and Box86  (programs required to run Windows games in Linux) and didn't experience any program slowdowns or memory leaks we had using ExaGear. A Wreck-It Ralph case was printed for the newer raspberry pi version , And the Ralph fan cover was installed

But my next major hurdle appeared when I powered the raspberry pi up for the first time in conjunction with the stereo amp. The wine that came out of the speakers was deafening, and it was at that moment I realized that I had a ground loop problem inherit of arcade switchers in general. I realized I would have to make a custom power supply for it that had both 12v and 5 V supplies, but had separate grounds.

Working off the sizing of the arcade supply I already had, I purchased two small open frame supplies  to place inside and arcade switcher styled box. For fun, I 3-D printed sour bill in the lower corner, and Vanellope von Schweetz, illuminates the back Of the supply and can be viewed through the coin door

Slowly, we moved on to the remaining components that would finalize the game. A stereo amplifier was purchased and a 3-D case was designed and printed for it. For this occasion Gene was placed on its side.
I needed a few USB jacks in the bottom of the cabinet, to feed the single board computer as well as recharge a keyboard I would keep inside the case, so cases were designed for these as well.
I was surprised to find out that there was no bumper available that had a cover for the IPAC-2 keyboard encoder, so I designed and printed one of my own placing Felix on the front of the cover. Finally, the Candy King makes an appearance on the enclosure for the Scan converter. All of these designs can be found in the 3-D printer area.

Overall a very rewarding project

Picture Gallery of My Fix it Felix Jr.


Sounds from Fix-It Felix Jr.

Coin Up

Up icon for the WAV file - Bottom icon for the MP3.

You Moved My Stump

Up icon for the WAV file - Bottom icon for the MP3.

Nicelanders Move in

Up icon for the WAV file - Bottom icon for the MP3.

Im gona wreck it

Up icon for the WAV file - Bottom icon for the MP3.

I can fix it

Up icon for the WAV file - Bottom icon for the MP3.

Nicelander Toss

Up icon for the WAV file - Bottom icon for the MP3.

Hammer

Up icon for the WAV file - Bottom icon for the MP3.

Glass Break

Up icon for the WAV file - Bottom icon for the MP3.

Bump

Up icon for the WAV file - Bottom icon for the MP3.

Extra Man

Up icon for the WAV file - Bottom icon for the MP3.

Death

Up icon for the WAV file Bottom icon for the MP3.

You Fixed it

Up icon for the WAV file Bottom icon for the MP3.

Roof top Pie

Up icon for the WAV file Bottom icon for the MP3.

Kiss

Up icon for the WAV file Bottom icon for the MP3.

Level complete

Up icon for the WAV file Bottom icon for the MP3.

Potpourri

Other Wreck-it Ralph stuff around the arcade

Resources

Want to make you own machine? Links and resources below

Amazon purchases

A potpourri of parts I bought to put this project together Raspberry Pi 4, 16 gig SD cards, Dual coil speakerI-PAC 2 Controller Interface , metal business cards, (for the custom serial arcade plates) just to name a few

Mikes Arcade

Coin doors, special hardware, joysticks, cabinet parts, bezel frames, LCD monitors. Link for the entire Nintendo parts offering

3D printables

All Items I drew are available on the 3D printer page

stupid

Arcadeshop, LLC

My new Nintendo cabinet came from here

Custom Serial Arcade Plates

Sergio Meyer took the time to create Custom Serial Arcade Plates for his Fix it Felix, and they are awesome! visit his site and try it yourself

Szabos Arcades

The entire art package came from Joe

My Raspberry Pi 4 Fix-it Felix IMG. Unpack using Raspberry Pi Imager onto a 16 gig card. Boots automatically to game (after first time configuration boot)
This is based on the Twister OS operating system

Contacts

Mark@Basementarcade.com
Phone: +1 ‪(973) 400-9110‬  

Links

Email us